Create Textured Cards with Layered Florals & 3D Embossing
by Erica Andersson September 18, 2026

Key Takeaways
Layering System: Use Altenew's Key Hole System with micro-tip tweezers and liquid glue for precise flower assembly.
Smart Background Trick: Slash a single 3D-embossed card panel at an angle to create asymmetrical backgrounds for two distinct cards.
Dimension & Depth: Combine foam tape, foam dots, and pigment ink over embossed cardstock to maximize visual texture.
Custom Die-Cut Foam: Pass black foam tape with backing paper through your die-cutting machine to create perfectly shaped dimensional sentiment mounts.
Hello Altenew friends and crafters! It’s your texture- and layer-loving gal Erica back on the blog and YouTube channel today.
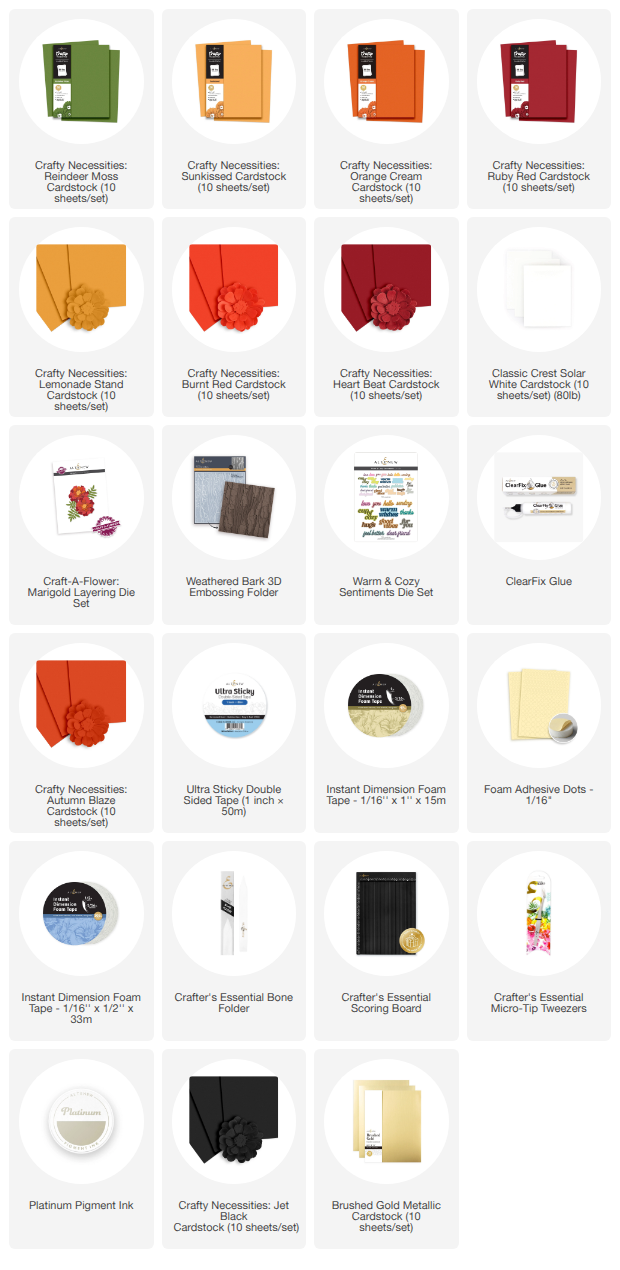
In this cardmaking tutorial, I share creative techniques using the Weathered Bark 3D Embossing Folder for rich, tactile texture, combined with the Craft-A-Flower: Marigold Layering Die Set. To wrap up these floral designs, I added heartfelt greetings using the Warm & Cozy Sentiment Die Set.
Step 1: Die-Cutting Floral Layers with the Keyhole System
To create the vibrant marigold blooms, start by cutting your cardstock layers using a variety of Crafty Necessities Colored Cardstock.
Color Palette Tip: Check the back of the die set packaging for suggested shade combinations. If you do not have every recommended paper shade, feel free to substitute matching hues from your stash—it yields gorgeous results either way.
Assembly Tools: Separate your cut floral pieces according to the built-in Keyhole System. Using Crafter's Essentials Micro-Tip Tweezers and Clear-Fix Glue makes aligning and adhering these intricate petal layers fast and effortless.

Step 2: Embossing Textured Card Backgrounds & Adding Pigment Ink
For the textured card panels, die-cut and emboss Crafty Necessities Reindeer Moss Cardstock through the Weathered Bark 3D Embossing Folder.
Using the same green cardstock shade as the marigold leaves keeps the overall card design cohesive. To make the 3D woodgrain texture pop, gently brush Platinum Pigment Ink over the raised embossing details to catch the light.

Step 3: Efficient Card Assembly & Asymmetrical Layouts
Preparing all die cuts, embossed panels, and sentiment pieces ahead of time keeps the card assembly phase fun and fluid. Having your elements ready allows you to experiment with card layout options without interruption.
The One-Panel, Two-Card Hack
Take your single 3D-embossed background panel and cut it once diagonally across the middle at an angle.
Adhere one piece near the top of your first white card base and mount the remaining asymmetrical piece near the bottom of your second card base.
Position the assembled marigold flowers across the diagonal cut line, tucking the leaves around the blooms.
Enhance the depth by mounting one panel using Instant Dimension Foam Tape and securing the other flat with Ultra Sticky Double-Sided Tape.
Layer the marigold blooms using a mix of foam tape and foam dots for varied height.

Step 4: Adding Custom Dimensional Sentiment Dies
For the final touches, create custom greeting embellishments using the Warm & Cozy Sentiment Die Set. Shadow sentiment dies give you the flexibility to display the word alone or layer it over a base outline.
Pro-Tip for Die-Cut Sentiment Stability: To create perfectly fitting foam dimension for fine word dies, leave the protective backing paper on the sticky side of Instant Dimension Foam Tape. Pass the foam tape directly through your die-cutting machine with the word die. This gives you a precision-cut foam backing that adds instant stability and height beneath your card sentiment.
Final Details
While it is tempting to finish every floral card project with gems or sequin embellishments, the deep 3D embossing, rich paper layers, and clean dimensional sentiments easily stand on their own.

Be sure to watch the full cardmaking video tutorial on the Altenew YouTube channel for a step-by-step visual demonstration of these techniques!

With love, light, sparkle, and creativity,
Erica